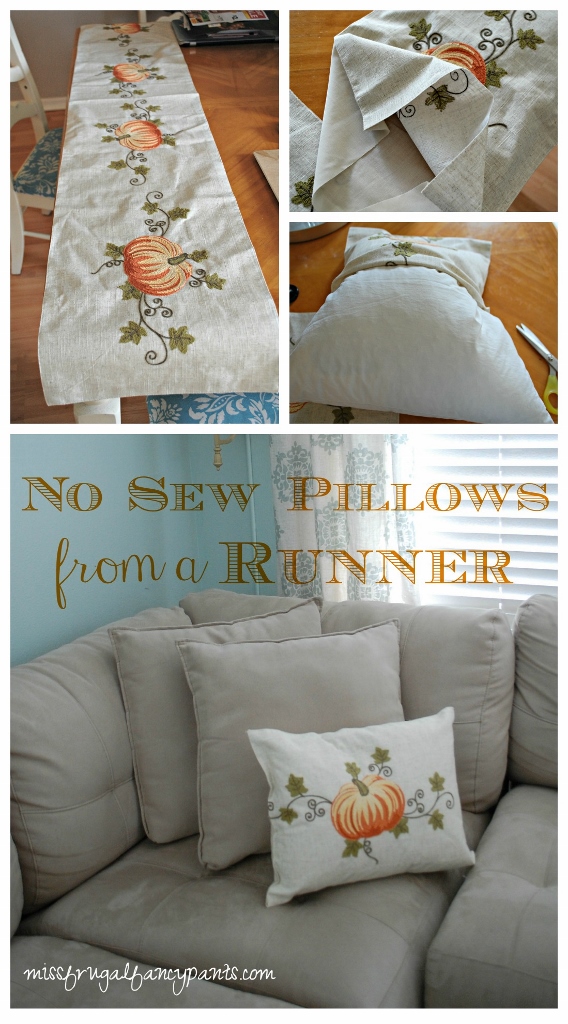
I truly do love playing with pillows when it comes to decorating. And while I love the easy DIY pillow covers I usually make, sometimes I want a design that isn’t available on any fabric. Especially if it’s an embroidered design. I generally swoon over something from Pottery Barn and pray it goes on super sale or just live without. But after recently reading another blog about making fancy pillows affordable by using table runners (or napkins), I decided to put my own twist on the idea to make DIY No-Sew Pillows.
Did you hear me?
NO. SEW.
You’re welcome.
I can’t take credit for this brilliant idea to make pillows from a table runner. Sarah, over at Thrifty Decor Chick has done multiple posts about making pillows from napkins and now table runners and I bow to her.
Seriously. Her zillion other projects are also swoon-worthy so she’s a total rock star in my book.
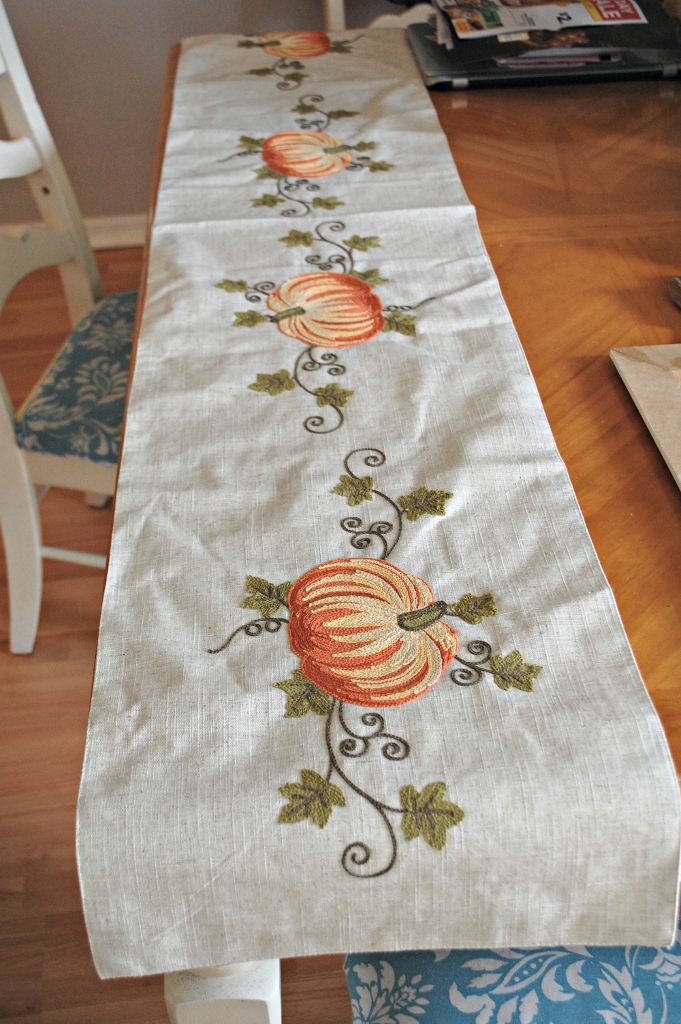
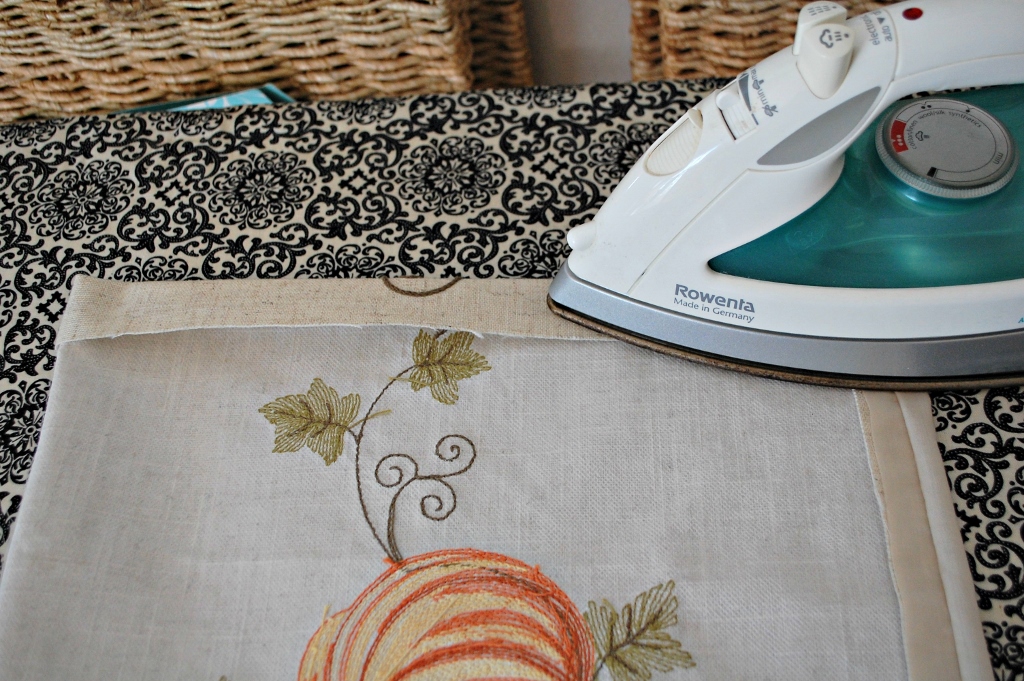
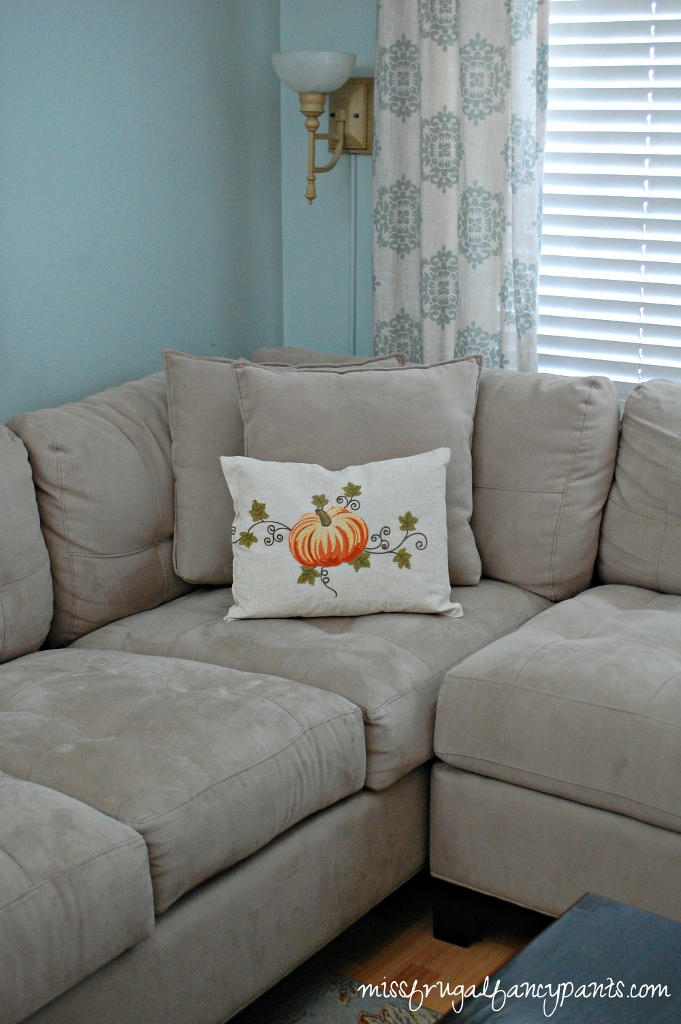
Thanks to her thrifty idea, I took a trip to HomeGoods and found myself a linen type fabric runner with embroidered pumpkins for $15. I’m not a giant fan of orange (in case you haven’t read enough about that) but this pattern was the most muted color palette I could find in a pinch.
An embroidered cream pumpkin on linen might have made me weak in the knees…a gal can dream, right? Perhaps I will get lucky enough to find such a color scheme for Christmas? Still dreaming, I know.
I decided to use the pillow inserts I already had, which weren’t exactly the correct size for this runner because it was a little narrower than my pillows. Luckily, since they’ve seen better days, they managed to morph into the size of the completed pillow cover.
If you don’t have inserts, it would be incredibly easy to buy a bag of fiberfill and stuff yourself silly so that you don’t have to worry about measuring anything.
Anyway, the beauty of this project is that there is very little to do for a mostly professionally finished look.
Starting at the end of the runner, I draped it over my pillow insert to eyeball the length to cut.
That was crazy hard, huh?
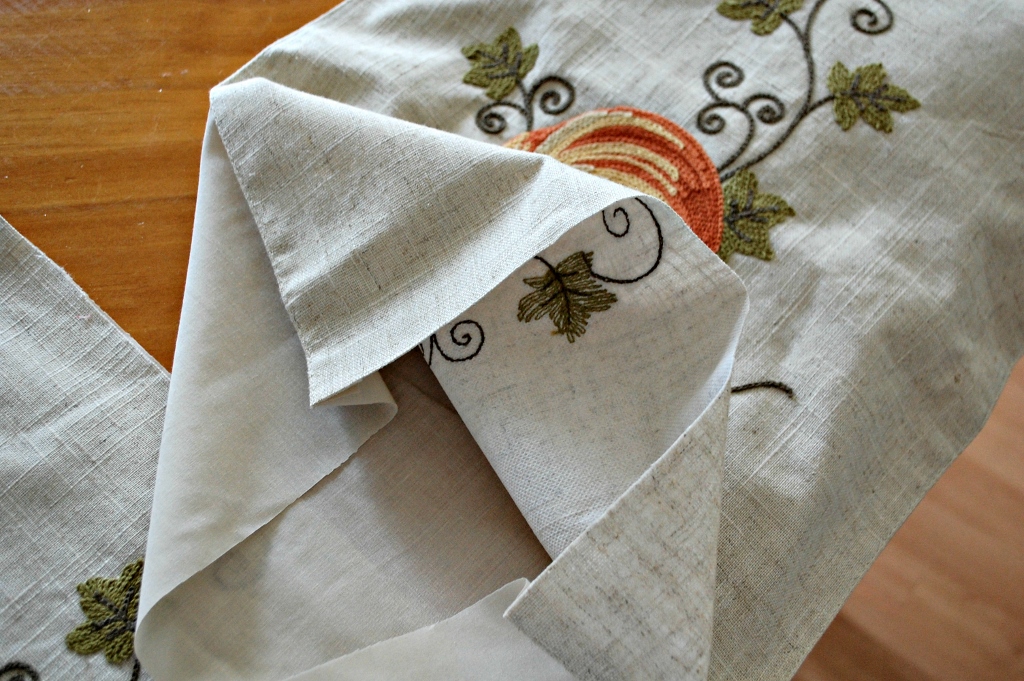
Now you have a pillow cover with three sides already finished for you.
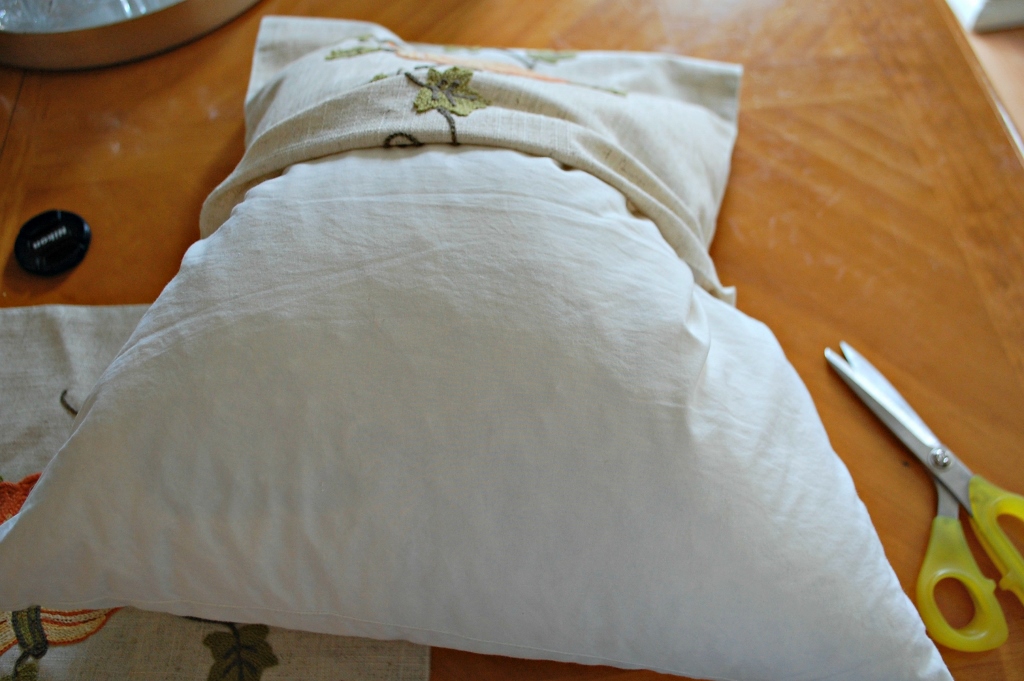
I stuffed my pillow insert in to be sure it was going to work and to see how much room I had to play with when I closed up the seam.
Here’s where I might confuse you. I tested two different ways to close this pillow up and will give you a third option.
1) Iron-On Velcro – more on this below but this is the best option if you are using pillow inserts and want to remove the covers.
2) Iron-on hem tape/fusible webbing – if you purchase a permanent adhesive, it would be ideal to use fiberfill instead of pillow inserts. I’m not sure how tricky it will be to undo that permanent bond and keep the covers in tact for their next use. If you can find temporary tape, obviously it will be easy to open the seam back up.
3) Washable Fabric Glue – I love this stuff for temporary fabric projects. If you screw up, wash it and you can start all over again. For these pillows, you would have to hold the seam until it dries (which could be worse than watching paint dry) or strategically place something heavy to hold it closed while it dries. But since it’s not permanent, you can easily pull the seam apart or just get it wet to dissolve the glue.
Of course you can also sew the seam closed with a machine or by hand, which is rather simple, but this post is for a no-sew option. 🙂
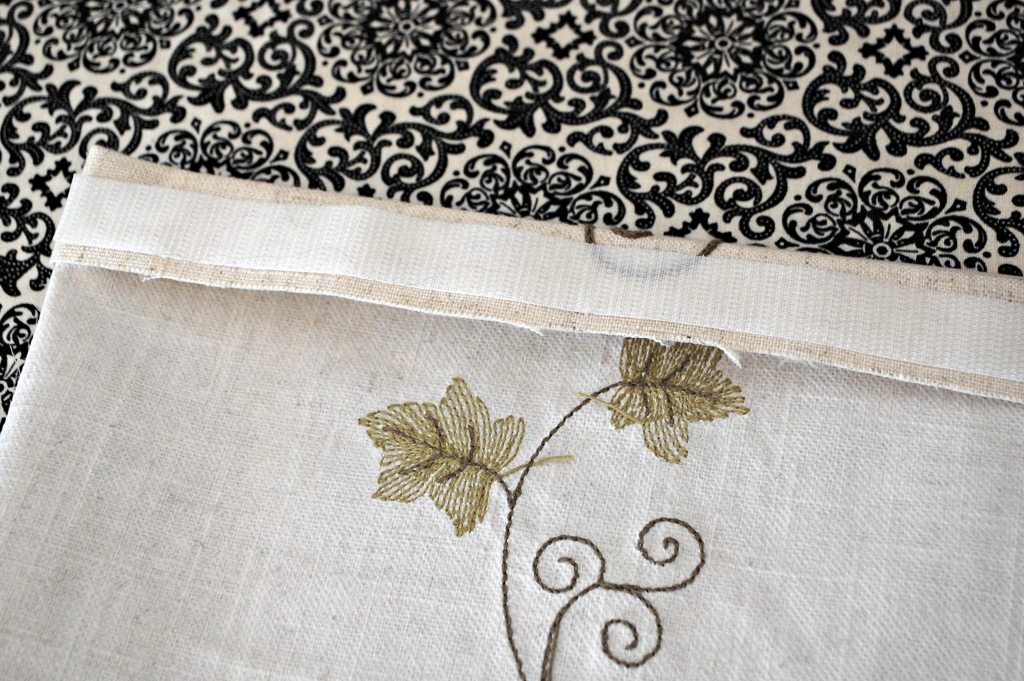
I turned the pillow/table runner inside out, folded and ironed down the open seams.
Now this step depends on which closure method you decided to go with.
Velcro Option (Recommended) – iron on your velcro to each side of your opened, ironed down seams and turn the pillow cover right side out before stuffing in your pillow insert. You’re done.
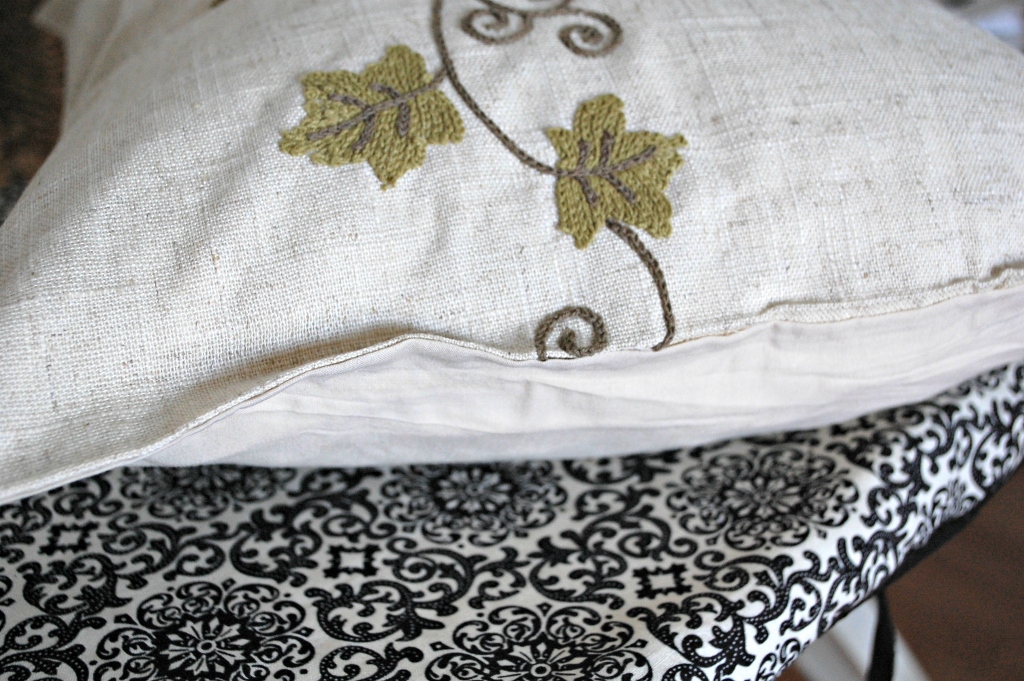
Iron on tape – Turn the pillow cover right side out, insert your pillow insert or polyfill, place the hem tape on the folded down seams and iron closed. It’s a bit tricky as you will need to shove the pillow insert away from the iron to get the seam flat but it’s doable.
This is what the imperfect seam (which is okay with me for a pillow that will be out for a month) looked like with the hem tape.
Temporary Glue – Turn the pillow cover right side out, insert your pillow insert or polyfill, apply the glue. If holding the seam with your hands makes you want to poke your eyeballs out (which would be the NORMAL reaction), use something heavy to keep the seam closed or try binder clips. They are rather strong and would certainly be the smarter thing to do.
P.S. I talk about using your hands to hold the seam closed because this is the kind of moronic thing I catch myself doing a little too often. If you do too, you’re not alone. If you would have never been dumb enough to do such a thing, enjoy a laugh at my expense. It’s what I’m here for.
The pillow covers you cut from the ends of the runner will obviously be the easiest. If you want additional covers and use the middle of the runner, since each cover will then have two open seams, simply perform the same steps one side at a time.
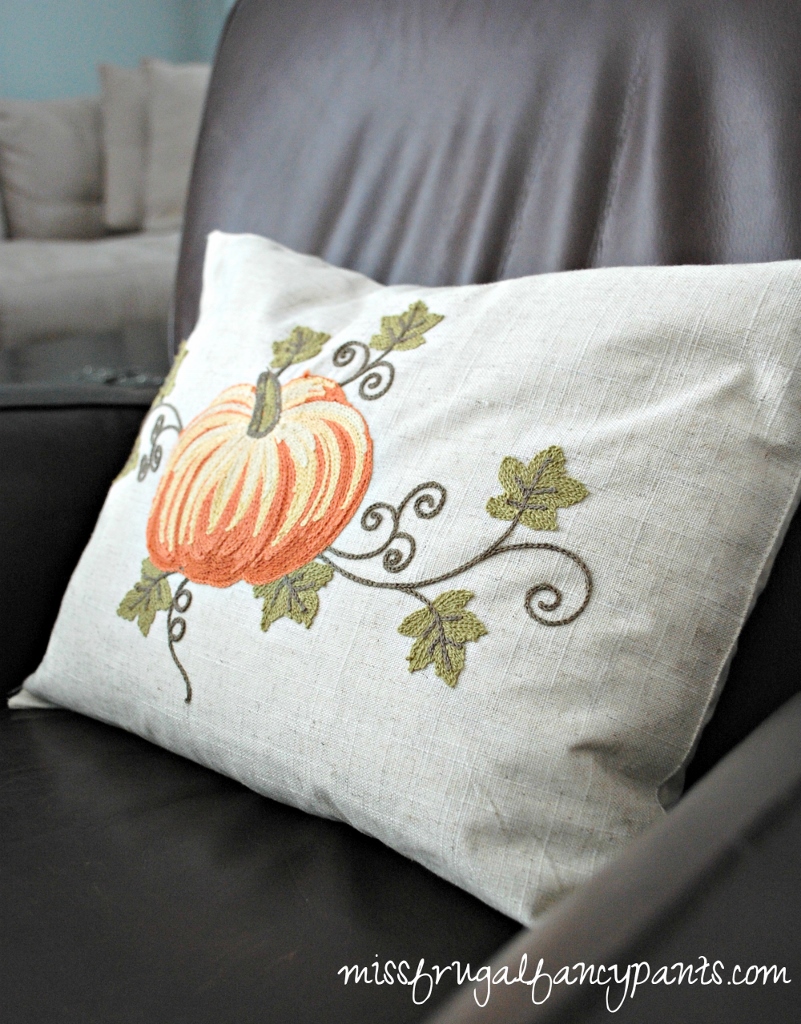
The runner I chose allowed for 4 pillows. Since I already had the inserts, that amounted to $3.75 per pillow cover. Even Miss Frugal Fancy Pants can’t find Pottery Barn pillow covers on clearance for that little!
And there you have it. No-sew pillows.

 Kara is a self-proclaimed Martha Stewart wannabe with the taste of an aristocrat and (thankfully) a penchant for bargains. She hopes to inspire you to live life beautifully and affordably while laughing at her expense along the way.